
Quick-Pickled Red Onions
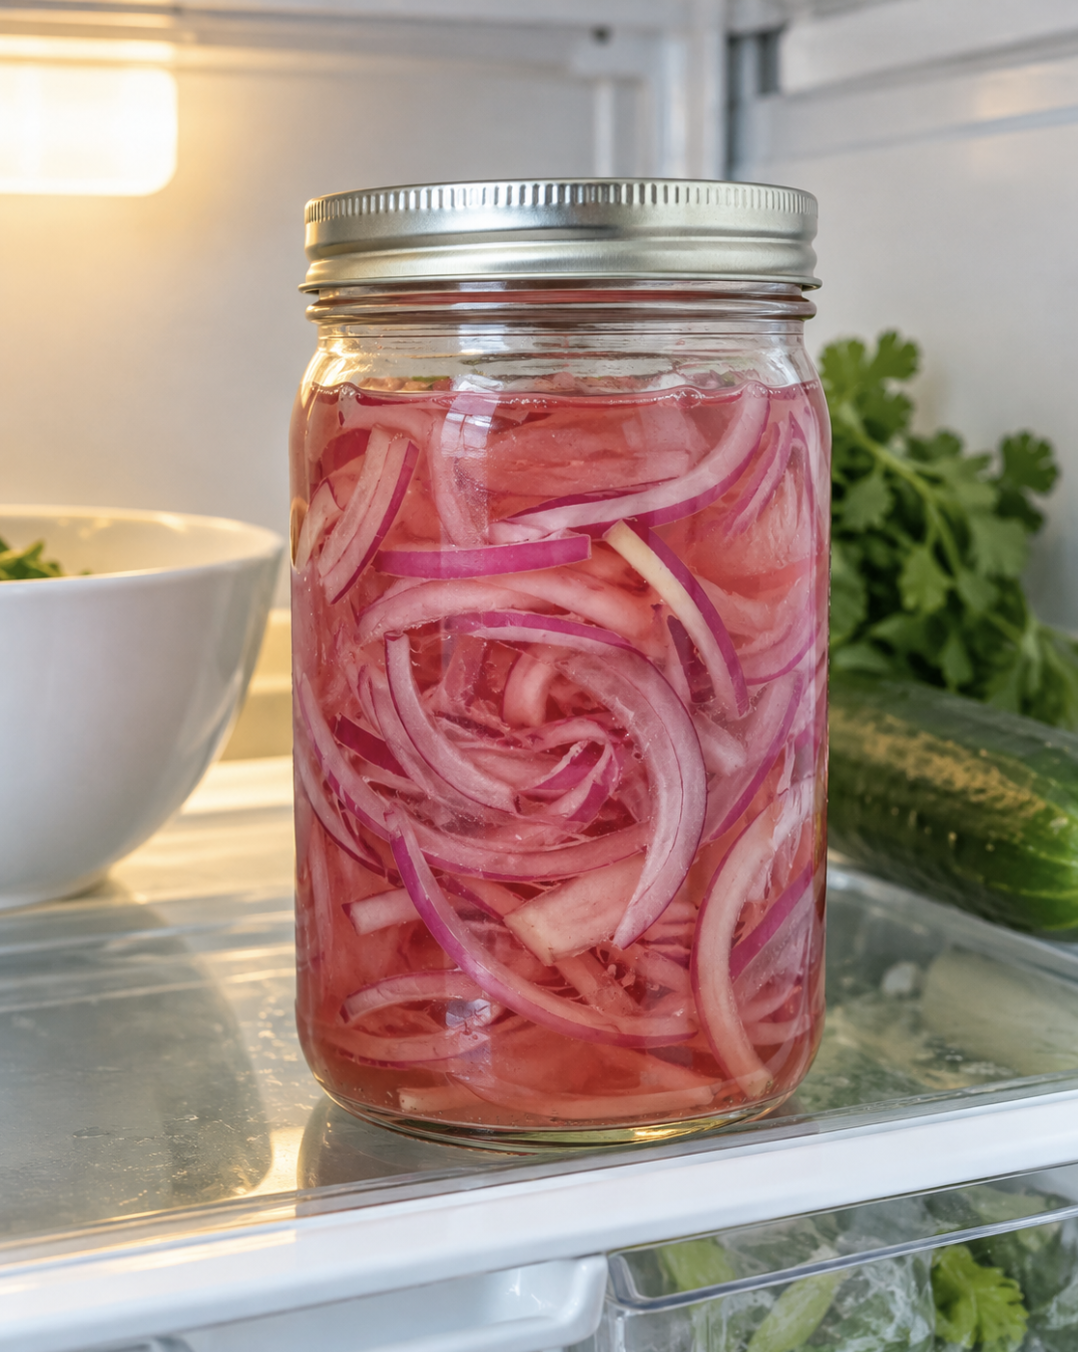
A little jar of possibility: quick-pickled red onions, ready to brighten up tacos, grain bowls, sandwiches, and whatever’s for lunch.
You know those bright pink onions that show up on restaurant tacos, grain bowls, and avocado toast? The ones that make everything taste a little more fancy?
Well, I’m here to tell you that with an onion, a few pantry staples, and about 10 minutes of actual effort, you that you should be making those at home!
Welcome back to Things You Love at Restaurants That You Should Also Be Making at Home series. This time, we’re making quick-pickled red onions—the little refrigerator staple that can turn “I guess I’ll eat these leftovers” into a lunch you’re actually looking forward to.
Why You’ll Love This Recipe
Five simple ingredients. Nothing specialty-store about it.
Minimal hands-on time. Slice, heat, pour, and let the brine do its thing.
Big flavor from a little topping. Tangy, slightly sweet, and still a little crunchy.
An easy meal-prep extra. Make a jar and give your meals a bright finishing touch throughout the week.
Naturally plant-based. A versatile topping for veggies, beans, sandwiches, and more.
Ingredients You’ll Need
Makes: Approximately 1 pint jar
Prep time: 7 minutes
Brine time: 3 minutes
Pickling time: About 30 minutes for very thin slices
1 medium red onion, thinly sliced
½ cup apple cider vinegar or white vinegar, labeled 5% acidity
½ cup hot water
1 tablespoon honey
1 teaspoon fine sea salt
White and black peppercorns, whole
A Few Ingredient Notes
Red onion: This gives you that beautiful pink color. Slice it into thin half-moons so it softens quickly and is easy to tuck into tacos and sandwiches.
Vinegar: Apple cider vinegar adds a slightly fruity flavor. White vinegar gives you a cleaner, sharper tang. Both work well here.
Honey: A little sweetness balances the vinegar without turning these into sweet pickles.
Salt: This recipe uses fine sea salt. Coarse kosher salts measure differently by volume, so use fine salt for the most consistent results.
How to Make It
1. Slice the Onion
Peel the onion and cut it in half from root to stem. Place each half flat-side down and slice into thin half-moons, aiming for about ⅛ inch thick or thinner.
Separate the layers and place them in a clean, heat-safe pint jar. Pack them snugly without crushing them.
2. Make the Brine
Combine the vinegar, honey, and salt in a small saucepan. Bring to a gentle simmer, stirring until the honey and salt dissolve. Remove from the heat.
3. Pour Over the Onions
Slowly pour the hot brine over the onions, covering them completely. Add 5-10 of both white and black peppercorns. Use a clean spoon to gently press any floating pieces down. Top off the jar with hot water to make sure all of the onions are submerged.
4. Let Them Pickle
Let the onions cool in the brine. Very thin slices will start to soften and turn pink in about 30 minutes; thicker slices need more time. You can enjoy them once they’ve cooled, but a few hours in the refrigerator gives the flavor more time to develop.
5. Refrigerate
Once cooled, cover and refrigerate. Keep the onions in their brine. Keep in the fridge for up to two week (but, I promise they won’t last that long.
A Few Notes
Thin slices make a difference. Thick wedges take longer to pickle and have a stronger raw-onion bite.
Give them a little time. A freshly made jar will taste sharper than one that has rested in the refrigerator overnight.
Drain before topping. You want the tangy onions on your toast, not a puddle of brine.
Start simple. The basic recipe works with almost anything. Once you know what you like, try a pinch of red pepper flakes, mustard or fennel seeds, or even fresh herbs, like dill can be delicious.
Serving Suggestions
These are the kind of little extras that make everyday meals feel more pulled together. Try them on:
Tacos: Especially roasted cauliflower, black bean, or crispy tofu tacos.
Grain bowls: Add to rice or quinoa with roasted vegetables, chickpeas, and a creamy dressing.
Avocado toast: Creamy avocado plus tangy onions is a very good breakfast decision.
Sandwiches and wraps: Tuck them into hummus wraps, veggie sandwiches, or plant-based burgers.
Salads: Scatter over greens, lentils, or a chopped vegetable salad.
Loaded potatoes: Add a bright bite alongside beans, dairy-free sour cream, and fresh herbs.
How to Store Quick-Pickled Red Onions
Store in a covered jar in the refrigerator for up to two weeks, keeping the onions submerged in their brine. They’re especially nice during the first week, while they still have a little crunch.
These need to stay refrigerated; this recipe is not intended for shelf-stable canning.
Final Thoughts
That’s what I love about Things You Love at Restaurants That You Should Also Be Making at Home. Sometimes the thing that makes a meal memorable is a small detail you can easily keep in your own refrigerator.
A good dressing. A bright topping. Something that makes the beans, vegetables, and leftovers you already have a little more appealing. These quick-pickled red onions fit right into that category. Five ingredients, a few minutes, and suddenly your Tuesday tacos have accessories.
Love, Light, and Lentils, my friends.
Sarah